
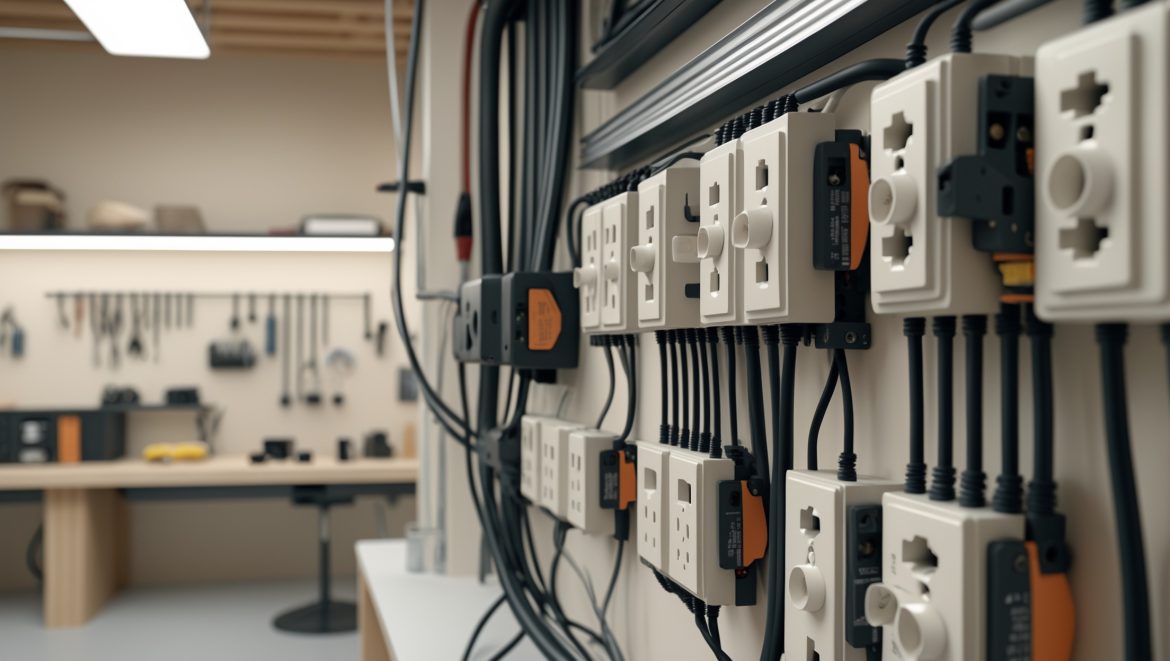
Introduction: Powering Up Your Creativity Safely
If your DIY craft studio is plagued by tripping breakers, tangled extension cords, or a shortage of outlets, it’s time for an electrical upgrade. Whether you’re running sewing machines, heat tools, or 3D printers, the right wiring is foundational to both productivity and safety. Yet, many creative enthusiasts overlook the importance of proper electrical planning, risking not only their projects but also their personal safety and property. This comprehensive guide is designed to empower you with expert, actionable advice for upgrading your craft studio’s electrical system. We’ll walk you through safe DIY wiring practices, from initial assessment to final inspection, so you can enjoy a well-powered, code-compliant, and future-proof creative space. Whether you’re transforming a dedicated room, a converted garage, or a backyard shed, you’ll find clear, practical steps tailored to the unique needs of DIYers and crafters. Let’s get started on creating a safe, efficient, and inspiring workspace that keeps up with your imagination.
Assessing Your Craft Studio’s Electrical Needs
Inventory Your Equipment
Before making any upgrades, list every tool and appliance that will run in your craft studio. Note their wattage, voltage requirements, and whether they need special outlets (like 240V for kilns or high-powered tools). Common items include:
- Sewing machines, sergers, embroidery machines
- Hot glue guns, heat presses, soldering irons
- 3D printers, laser cutters
- Air purifiers, dehumidifiers, fans
- Task lighting, computers, charging stations
This inventory will determine your circuit needs and help prevent overloads.
Calculate Total Power Requirements
Add up the wattage of all devices you might use simultaneously. Divide the total by 120 (for standard US voltage) to get the minimum amperage needed. For example, if your devices total 1,800 watts, you need 15 amps. Always add a 25% safety margin to your estimate, and plan for future tool additions.
Identify Problem Areas
Look for:
- Frequent breaker trips
- Warm outlets or plugs
- Over-reliance on extension cords and power strips
- Insufficient or poorly placed outlets
These are clear signs your current wiring is inadequate.
Understanding Electrical Codes and Permits
National and Local Codes
In the US, the National Electrical Code (NEC) sets baseline safety standards. However, local codes can be stricter. Always check with your city or county’s building department before starting work. Key points include:
- Permits: Most areas require a permit for new circuits, subpanels, or major upgrades.
- Inspections: Electrical work must often pass inspection before use.
- GFCI/AFCI: Ground Fault and Arc Fault Circuit Interrupters are required in many areas, especially for outlets near water or in converted garages/basements.
Working without permits can lead to penalties, insurance issues, and safety risks.
DIY vs. Hiring a Pro
Simple upgrades (like swapping outlets or adding a single circuit) may be DIY-friendly if local codes allow. For panel upgrades, new subpanels, or complex rewiring, hire a licensed electrician. Never attempt work beyond your comfort level or legal scope.
Planning Your Craft Studio’s Electrical Layout
Design for Workflow and Flexibility
Place outlets where you’ll use tools—not just along walls, but also on workbenches, islands, and inside cabinets. Consider:
- Spacing: NEC requires outlets every 12 feet along walls and within 6 feet of doorways.
- Height: Mount outlets 42–48 inches above the floor for easy access above worktables.
- Dedicated Circuits: Heavy-draw tools (3D printers, heat presses, compressors) should have their own circuits to prevent nuisance trips.
- Lighting: Plan for both general and task lighting. LED strips under shelves, adjustable gooseneck lamps, and track lighting are popular choices.
- USB and Smart Outlets: Consider outlets with built-in USB ports or smart features for charging and automation.
Future-Proofing
Install more outlets and higher-capacity circuits than you think you’ll need. It’s easier and cheaper to add these during initial work than to retrofit later.
Essential Tools and Materials for DIY Electrical Work
- Voltage tester and multimeter
- Wire strippers and cutters
- Needle-nose pliers
- Screwdrivers (insulated)
- Fish tape or wire puller
- Drill and spade bits for running wire
- Electrical boxes (plastic or metal, as required)
- 12- or 14-gauge NM (nonmetallic) cable (Romex), depending on circuit amps
- GFCI and/or AFCI outlets
- Wire nuts, electrical tape, cable clamps
- Faceplates, mounting hardware
Optional: Label maker for marking circuits and outlets.
Step-by-Step: Installing a New Circuit
1. Turn Off Power and Confirm
Shut off the main breaker before starting any work. Use a voltage tester to confirm all wires and outlets are de-energized.
2. Map the Circuit Path
Plan the route for your cable from the panel to each outlet or device. Avoid sharp bends, water pipes, and heat sources. Mark locations for outlet boxes.
3. Cut and Mount Outlet Boxes
Use a stud finder to avoid framing. Cut openings with a drywall saw. Secure boxes flush with the wall surface using screws or mounting brackets.
4. Run Cable
Drill holes in studs or joists as needed. Fish cable through, leaving at least 6 inches of extra wire at each box for connections. Staple cable every 4–6 feet and within 8 inches of each box.
5. Make Connections
Strip 3/4 inch of insulation from each wire. Connect black (hot) to brass, white (neutral) to silver, and bare copper (ground) to the green screw or box ground. For GFCI outlets, follow the manufacturer’s instructions for line and load terminals.
6. Connect to Breaker Panel
This step can be dangerous. If allowed by code and you are comfortable, remove a knockout from the panel, insert cable with a clamp, and connect wires to a new breaker (black to breaker, white to neutral bar, ground to ground bar). Double-check all connections.
7. Test and Inspect
Restore power, then use a tester to verify proper wiring at each outlet. Label the new circuit in your panel. Schedule an inspection if required by local code.
Special Considerations for Craft Studios
Workbenches and Island Outlets
Use surface-mount raceways, pop-up outlets, or floor boxes for central work areas where wall outlets aren’t accessible. Ensure cables are protected from physical damage.
Dust, Fumes, and Moisture
If your studio generates dust (woodworking, sanding) or moisture (fabric dyeing, resin casting), choose sealed, gasketed outlets and vapor-resistant boxes. Install outlets at least 12 inches above countertops or work surfaces to avoid spills.
Lighting Controls
Use dimmers or smart switches for adjustable task lighting. Motion sensors are helpful for hands-free operation in paint or glue zones.
Workshop-Specific Upgrades
- Install emergency shutoff switches for high-wattage equipment
- Add surge protectors for sensitive electronics
- Label outlets by circuit for quick troubleshooting
Safety Checklist for DIY Electrical Upgrades
- Always de-energize circuits before working
- Test for power before touching any wire
- Use only UL-listed components
- Follow wire gauge and breaker size recommendations (e.g., 15A circuits = 14 AWG, 20A circuits = 12 AWG)
- Never overload outlets or daisy-chain power strips
- Secure all cables to framing and avoid pinch points
- Install GFCI protection for outlets near sinks, wet zones, or in basements/garages
- Keep detailed records of new circuits and modifications
- Schedule inspections as required
Troubleshooting Common Issues
Tripping Breakers
Check for overloaded circuits, short circuits, or defective tools. If a breaker trips repeatedly after upgrades, review your wiring and connections or consult a licensed electrician.
Buzzing or Hot Outlets
Immediately shut off power. Loose connections are a fire hazard. Re-tighten or replace outlets as needed.
Flickering Lights
Usually caused by loose wires or overloading. Verify all connections and redistribute loads as needed.
Maintaining Your Upgraded Electrical System
Regular Inspections
Check outlets and cords for wear, discoloration, or looseness every six months. Replace damaged components promptly.
Keep Circuits Labeled
Update your breaker panel and outlet labels whenever you add or change equipment. This saves time during troubleshooting and emergencies.
Stay Informed
Code requirements evolve. Review local updates every few years, especially if you plan further expansions.
Conclusion: Empowering a Brighter, Safer Creative Space
A well-designed electrical system is the unsung hero of a productive craft studio. By thoughtfully assessing your needs, planning for workflow, and following safe DIY practices, you can transform your workspace into a hub of creative energy—free from the frustrations of tripped breakers or tangled cords. Remember, electricity deserves respect: never cut corners on safety, and don’t hesitate to call a professional for complex upgrades. By investing in smart, code-compliant wiring today, you’re not just powering your current projects—you’re future-proofing your studio for years of inspiration and innovation. Keep your circuits labeled, outlets accessible, and safety at the forefront, and your craft studio will be a place where ideas flourish, tools operate flawlessly, and creativity knows no bounds. Happy crafting—and happy wiring!

When listing out all my devices for the craft studio, how should I handle equipment I might upgrade later, like getting a bigger 3D printer? Should I estimate the power requirements for my future plans too?
It’s a good idea to estimate the power requirements for both your current equipment and any upgrades you might make in the future. When planning your electrical upgrades, add a buffer for larger or extra devices so your wiring and circuits can handle increased loads safely. This helps avoid the need for another upgrade soon after.
If I’m on a tight budget but need to upgrade my wiring to stop breakers from tripping, what are the most critical things to address first, and are there any cost-saving strategies for a small craft space?
Focus first on identifying which circuits are overloaded—often, just moving high-draw equipment to less-used outlets can help. If rewiring is needed, prioritize safely adding a dedicated circuit for your most powerful tools. Use energy-efficient lighting and only upgrade what’s absolutely necessary to reduce costs. Always double-check that any DIY work meets local electrical codes for safety.
Once I’ve completed the DIY wiring following these steps, do I need to have an inspector come out, even if it’s just my own home studio, or is there a checklist I can follow myself to ensure safety?
Even if the wiring is just for your home studio, most local building codes require a licensed inspector to review electrical work for safety and compliance. While a personal checklist is useful for double-checking your work, getting an official inspection is the best way to ensure everything meets code and keeps you safe.
Could you clarify how to figure out which breaker size to use based on the total amps I calculated for my space? I don’t want to risk frequent tripping or unsafe setups.
To choose the right breaker size, take your total calculated amps and select a breaker rated at least 125% of that load for continuous use. For example, if your space requires 12 amps, use a 15-amp breaker. Never exceed the wire’s rated ampacity, and if in doubt, consult local electrical codes or a licensed electrician to ensure safety.