
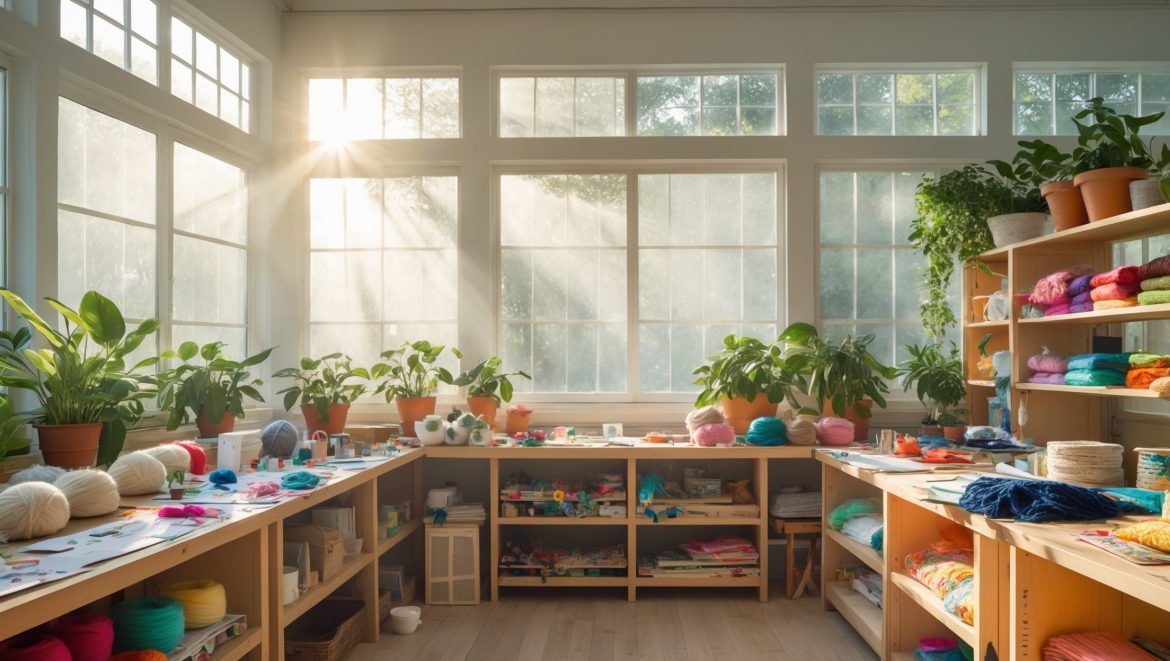
Introduction: Why Ventilation Matters in Your DIY Craft Studio
Setting up your own craft studio is an exciting journey—one that promises endless creativity, productivity, and personal joy. Whether you’re an experienced maker or a passionate hobbyist, the significance of a healthy workspace cannot be overstated. Among the most overlooked, yet vital, aspects of a functional creative space is ventilation. Good air circulation not only supports your well-being but also preserves your materials, prevents equipment failure, and maintains a fresh, inspiring environment. Paints, adhesives, solvents, and even dust from materials like fabric or wood can all contribute to poor indoor air quality, leading to headaches, allergies, and long-term health risks. Without proper ventilation, even the most beautifully designed studio can become an unhealthy place to work. This guide will walk you through everything you need to know about DIY craft studio ventilation—from assessing your current airflow, to selecting the right systems, budget-friendly solutions, and essential maintenance practices. By the end, you’ll be equipped to create a safer, more comfortable, and more productive workspace where your creativity can truly breathe.
Understanding Craft Studio Ventilation Needs
Hazards of Poor Air Quality in Craft Studios
Crafters often work with materials that emit volatile organic compounds (VOCs), particulate matter, and other airborne contaminants. Common offenders include spray adhesives, paints, solvents, resin, soldering fumes, and even fine dust from sanding or cutting. Exposure to these can trigger allergies, asthma, skin irritation, and, with chronic exposure, more serious respiratory issues.
- Short-term effects: Headaches, dizziness, eye and throat irritation, fatigue
- Long-term effects: Chronic respiratory problems, increased risk of chemical sensitivity
- Material impact: Dust and fumes can settle on projects, causing surface imperfections or material degradation
Types of Ventilation: Natural vs. Mechanical
Ventilation can be broadly categorized into natural ventilation, which utilizes openings like windows and vents, and mechanical ventilation, which uses fans and air handling systems. The right balance often depends on your studio size, location, and the materials you use most frequently.
- Natural Ventilation: Relies on windows, doors, skylights, and vents to promote airflow. It’s energy-efficient but may be insufficient for studios with limited openings or in extreme weather conditions.
- Mechanical Ventilation: Uses exhaust fans, air purifiers, and ducted systems to actively remove stale air and introduce fresh air. Essential for studios handling hazardous chemicals or fine particulates.
Assessing Your Craft Studio’s Ventilation
Quick Self-Assessment Checklist
- Do you notice lingering odors after using paints or adhesives?
- Are windows or mirrors fogging up after long crafting sessions?
- Is visible dust settling quickly on surfaces?
- Do you or visitors experience headaches or irritation in your studio?
- Is there a lack of airflow, especially in corners or enclosed areas?
If you answered ‘yes’ to any of these, your studio likely needs improved ventilation.
Measuring Airflow and Air Quality
To get a more precise understanding, consider:
- CO2 Monitors: Indicate how much fresh air is circulating.
- Particulate Sensors: Measure dust and other airborne particles.
- VOC Detectors: Track chemical fumes from art supplies.
Affordable devices are available online. A simple smoke or incense stick test can also reveal stagnant air zones: watch how the smoke moves to spot dead spots.
Planning for Optimal Airflow: Layout and Design Strategies
Studio Layout Tips for Better Ventilation
- Position workstations near windows or exterior doors whenever possible.
- Allow clear pathways for air to circulate; avoid blocking vents with furniture or storage units.
- Use open shelving instead of closed cabinets along exterior walls to promote airflow.
- Arrange your studio so that high-fume activities (e.g., painting, soldering) are closest to ventilation sources.
Creating a Cross-Breeze
For natural ventilation, maximize airflow by:
- Opening windows or doors on opposite sides of the room to create a cross-breeze.
- Installing vented transoms above doors for continuous airflow, even when doors are closed.
- Using portable fans to push air from one side of the studio to the other.
DIY Mechanical Ventilation Solutions
Window and Wall-Mounted Exhaust Fans
Exhaust fans are the workhorses of mechanical ventilation, actively pulling contaminated air out and drawing fresh air in. When choosing a fan:
- CFM (Cubic Feet per Minute): Calculate the volume of your studio (length × width × height) and select a fan that can exchange the air every 5–10 minutes for light use, or every 2–5 minutes for heavy-duty crafting.
- Placement: Position exhaust fans as high as possible, as fumes and warm air rise. If possible, install directly above or near your main crafting zone.
- Installation: Many window fans are simple to install with basic tools, while wall units may require cutting a vent hole and sealing around the frame.
Portable Air Purifiers and HEPA Filters
Air purifiers with true HEPA filters are excellent for removing fine dust, fibers, and some chemical fumes. For maximum effect:
- Choose a unit rated for your studio’s square footage.
- Place near your primary work area, especially if sanding, cutting, or using powdery materials.
- Look for models with activated carbon filters to help absorb odors and VOCs.
DIY Fume Extractors for Small Spaces
If you solder, paint, or use resin, a simple fume extractor can make a big difference. Create your own by:
- Attaching a flexible duct to a small, high-CFM inline fan.
- Mounting the duct on a movable arm to position directly over your workspace.
- Ventilating the duct outside via a window or wall vent; always ensure a tight seal where the duct exits.
Budget-Friendly Ventilation Hacks
Simple Upgrades for Limited Budgets
- DIY Window Inserts: Use foam board or plexiglass to create temporary window vents for exhaust fans without altering your window structure.
- Under-Door Air Gaps: Trim the bottoms of interior doors slightly to allow air to flow between rooms.
- Box Fan Filters: Attach a furnace filter to the back of a box fan for an inexpensive air scrubber.
While not as effective as dedicated systems, these hacks can provide interim relief until a more permanent solution is installed.
Houseplant Helpers
Certain houseplants can absorb some airborne chemicals and improve indoor air quality. While not a replacement for ventilation, they’re a healthy complement. Consider:
- Spider plant
- Snake plant
- Pothos
- Peace lily (if pets are not present, as it can be toxic)
Best Practices for Safe Material Handling
Minimizing Airborne Contaminants
- Always keep lids tightly sealed on paints, glues, and solvents.
- Mix powders or pigments in enclosed containers or under a vent hood.
- Wet-wipe surfaces instead of dry dusting to prevent particles from becoming airborne.
- Dispose of rags and waste materials in metal, lidded containers outside the main workspace.
Proper Storage Solutions
Store volatile chemicals in ventilated cabinets or, where possible, in an exterior shed. Avoid keeping large quantities of hazardous substances indoors.
Maintaining Your Ventilation System
Routine Checks and Cleaning
- Clean exhaust fan blades and housings every 3–6 months to maintain efficiency.
- Replace or clean air purifier filters as recommended by the manufacturer.
- Inspect ductwork for blockages, leaks, or mold growth at least once a year.
- Test fans and purifiers monthly to ensure consistent operation.
Seasonal Adjustments
- In colder months, use heat recovery ventilators (HRVs) if possible to bring in fresh air without significant heat loss.
- During pollen-heavy seasons, keep windows closed and rely more on filtered mechanical systems.
When to Upgrade or Seek Professional Help
If you regularly work with highly toxic materials, experience persistent air quality issues, or plan major renovations, it may be time to invest in a professional ventilation assessment. Certified HVAC contractors can design custom solutions, such as dedicated make-up air systems or high-capacity extraction hoods, tailored to your space and workflow.
Quick Troubleshooting Guide
- Persistent Odors: Check for blocked exhausts or insufficient fan capacity.
- High Dust Levels: Upgrade to a true HEPA filtration system and increase cleaning frequency.
- Condensation or Mold: Increase airflow and address any water leaks.
Conclusion: Breathe New Life into Your Creative Space
Ventilation is the unsung hero of a productive, healthy DIY craft studio. By taking a thoughtful, proactive approach—assessing your current air quality, strategically arranging your space, investing in the right equipment, and maintaining your systems—you not only protect your health but also enhance your creativity and the longevity of your materials and tools. Even small, budget-friendly changes can make a noticeable difference in how you feel and work. Remember, a well-ventilated studio is an investment in your creative future: it encourages longer, more enjoyable crafting sessions, keeps your projects pristine, and offers peace of mind that your passion won’t come at the expense of your well-being. Don’t wait for problems to arise; review your studio’s ventilation today and take actionable steps to foster a fresh, inspiring environment. With clean air and clear focus, your creative possibilities are truly limitless.



You mentioned that materials like spray adhesives and paints release VOCs and other contaminants. Are there specific types of ventilation systems recommended for handling fumes versus dust, or do most solutions address both problems equally well?
Fume extraction and dust collection often require different types of systems. Fumes from VOCs are best managed with high-quality exhaust fans or ducted ventilation that moves air outside, sometimes combined with filters for VOCs. Dust, on the other hand, is usually handled by HEPA-filtered air purifiers or dedicated dust collectors. Some advanced systems handle both, but for serious work, it’s best to use solutions tailored to each issue.
Could you go into more detail about what signs I should look for that my current airflow isn’t adequate? Sometimes it’s hard to tell if my tiredness is just from crafting or poor air quality.
Feeling tired is a common sign, but you should also watch for symptoms like headaches, dizziness, irritated eyes, or a lingering chemical smell. If fumes or dust seem to hang in the air, or you notice residue settling on surfaces, your airflow might be insufficient. Regularly check for these signs to help determine if you need to improve your studio’s ventilation.
I’d love to know more about how to assess the current airflow in my room. What are some signs that my existing setup isn’t adequate, even if I’m not noticing any health symptoms yet?
To assess your current airflow, check for stuffiness, lingering odors, or visible dust buildup, which can indicate poor ventilation. Also, watch for condensation on windows or walls and uneven temperatures across the room. If fumes from your projects seem to stay in the air longer than expected, it may be time to improve your setup.
After setting up a new ventilation system, how long does it typically take to notice improvements in air quality or a reduction in headaches and fatigue? Are there any quick ways to measure effectiveness?
You can often notice improvements in air quality, such as clearer air or fewer odors, within hours of running your new ventilation system. Relief from headaches or fatigue could take a few days as your environment stabilizes. For a quick check, try using an indoor air quality monitor to measure levels of dust, VOCs, or CO2 before and after. Also, pay attention to airflow at vents and any reduction in stuffiness.