Introduction: The Overlooked Side of Creative Freedom
DIY, crafts, and creative living thrive on imagination, innovation, and hands-on experimentation. But while most makers focus on materials, tools, and the joy of creating, safety often takes a back seat—until an incident occurs. Whether you’re a weekend hobbyist or operate a bustling home-based craft business, hazards can lurk in even the tidiest studios. From chemical spills to tool mishaps, electrical faults to poor ergonomics, unaddressed risks can derail your projects, damage your space, or cause serious injury.
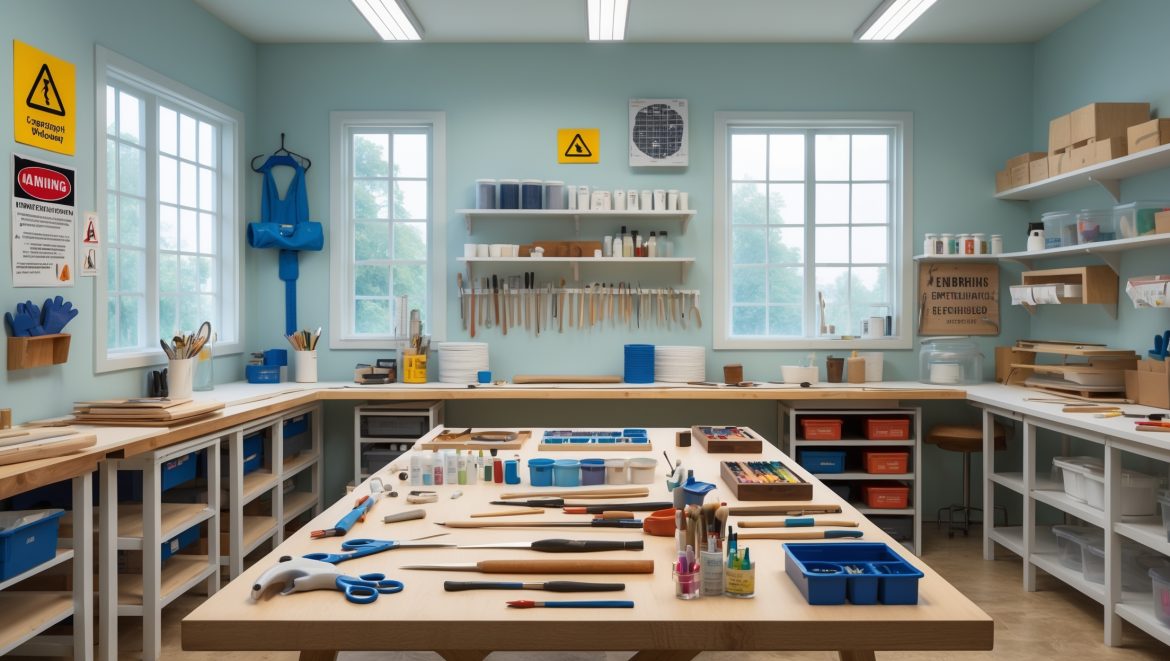
This comprehensive hazard checklist is designed specifically for DIY and craft studio owners who want to ensure their creative space is as safe as it is inspiring. We’ll move beyond the basics—covering not only the obvious threats but also the commonly overlooked dangers unique to creative environments. You’ll learn how to spot subtle risks, implement practical prevention strategies, and choose the right safety gear for your needs. By the end, you’ll have a clear, actionable plan for keeping both yourself and your creations protected—so you can focus on what you love most: making something incredible.
Why Every DIYer Needs a Hazard Checklist
It’s easy to dismiss safety as a concern for industrial workshops, but even a small craft studio can contain dozens of potential hazards. The mix of sharp tools, flammable materials, electrical equipment, and sometimes volatile chemicals makes for a unique risk landscape. A hazard checklist serves as both a reference and a routine—helping you catch issues before they escalate, comply with insurance requirements, and create a culture of safety that encourages creativity rather than stifling it.
Section 1: Physical Hazards in the Craft Studio
1.1 Sharp Tools and Cutting Equipment
- Inspection: Regularly check blades, scissors, and rotary cutters for dullness or damage. Dull tools require more force and are more likely to slip.
- Storage: Store all sharp implements in labeled, secure containers or magnetic strips out of reach of children.
- Usage: Always use appropriate cutting mats and direct blades away from your body. Never leave sharp tools unattended on your work surface.
1.2 Trip and Slip Hazards
- Cord Management: Use cable organizers to keep power cords off the floor and away from walkways.
- Spills: Clean up paint, glue, or liquids immediately. Keep absorbent materials handy for quick responses.
- Flooring: Choose non-slip mats around workstations and ensure area rugs are secured with grippers.
1.3 Heavy Lifting and Ergonomics
- Weight Distribution: Store heavy supplies on lower shelves to prevent overreaching or falling objects.
- Lifting Technique: Bend at the knees, keep your back straight, and lift with your legs—not your back.
- Workspace Setup: Adjust tables and chairs to the correct height to avoid strain on your wrists, back, and neck.
Section 2: Chemical and Material Hazards
2.1 Paints, Solvents, and Adhesives
- Labeling: Clearly label all bottles and jars, including homemade mixes. Never store chemicals in food containers.
- Ventilation: Work in a well-ventilated area; use fans or open windows when using strong-smelling products.
- Protective Gear: Wear gloves and safety goggles when handling chemicals. Avoid skin contact and never eat or drink near your workspace.
2.2 Dust and Particulate Matter
- Source Control: Use dust collection systems or vacuum attachments with sanders, saws, and rotary tools.
- Respiratory Protection: Wear a dust mask or respirator when sanding, carving, or working with powdered materials.
- Cleaning: Wet-wipe surfaces instead of sweeping; this prevents dust from becoming airborne.
2.3 Allergens and Sensitizers
- Awareness: Know your materials—some resins, paints, and fibers can cause allergic reactions or skin irritation.
- Barrier Protection: Use nitrile or latex gloves and long sleeves when handling known sensitizers.
- Storage: Isolate allergenic materials in sealed containers, clearly labeled and stored away from general supplies.
Section 3: Electrical and Fire Hazards
3.1 Overloaded Circuits and Extension Cords
- Power Distribution: Avoid daisy-chaining extension cords. Use surge-protected power strips with overload switches.
- Inspection: Check all cords and plugs for fraying or exposed wires. Replace damaged items immediately.
- Access: Ensure outlets are easily accessible and not blocked by furniture or storage.
3.2 Heat Sources and Flammable Materials
- Separation: Store flammable liquids and materials far from heat sources like glue guns, space heaters, or kilns.
- Ventilation: Ensure adequate airflow around heat-producing equipment to prevent overheating.
- Fire Extinguisher: Keep an ABC-rated fire extinguisher in your studio and ensure everyone knows how to use it.
3.3 Emergency Planning
- Escape Routes: Keep exits clear of clutter and plan at least two unblocked escape routes.
- Smoke Alarms: Install and test smoke alarms regularly, especially near workstations with electrical equipment.
- First Aid Kit: Stock a visible, accessible first aid kit with burn cream, bandages, and eye wash solution.
Section 4: Biological and Environmental Hazards
4.1 Mold, Mildew, and Pests
- Humidity Control: Use a dehumidifier in damp spaces to prevent mold growth on paper, fabric, and wood.
- Inspection: Regularly check for signs of pests (e.g., moths, rodents) in storage areas. Seal cracks and store materials in airtight bins.
- Cleaning: Clean spills and crumbs promptly to avoid attracting unwanted guests.
4.2 Temperature Extremes
- Climate Control: Monitor and maintain a stable temperature; extreme heat can warp materials, and cold can cause adhesives to fail.
- Material Storage: Store temperature-sensitive supplies in insulated bins or cabinets.
Section 5: Psychological and Social Hazards
5.1 Fatigue and Burnout
- Work/Rest Balance: Schedule regular breaks and stretch sessions to avoid repetitive strain and mental fatigue.
- Lighting: Ensure adequate task lighting to reduce eye strain and headaches.
5.2 Working Alone
- Check-Ins: Let someone know when you’re working alone, especially when using power tools or chemicals.
- Communication: Keep a phone nearby and emergency contacts posted visibly in your studio.
Section 6: Personal Protective Equipment (PPE) Essentials
- Eye Protection: Safety glasses or goggles for cutting, sanding, or mixing chemicals.
- Respiratory Protection: Dust masks or respirators for airborne particles or fumes.
- Hand Protection: Gloves suited to your materials (latex, nitrile, cut-resistant, or heat-resistant as appropriate).
- Hearing Protection: Earplugs or earmuffs when operating loud equipment.
- Clothing: Fitted, long-sleeved clothing to protect skin without risk of catching on moving parts.
Section 7: Creating Your Custom Studio Hazard Checklist
7.1 How to Audit Your Space
- Walk through your studio with this checklist and a notepad. Identify risks specific to your craft (e.g., hot wax for candle makers, glass shards for mosaic artists).
- Photograph problem areas to track improvements over time.
- Solicit feedback from fellow crafters or family members who use the space.
7.2 Maintaining Your Safety Routine
- Set a recurring calendar reminder to review your checklist monthly.
- Keep a printed copy of your checklist posted in your studio as a visual prompt.
- Update your checklist whenever you add new tools, materials, or work processes.
Conclusion: Protect Your Creativity—And Yourself
Creativity flourishes in spaces where makers feel confident and secure. While hazards come with the territory in any hands-on craft studio, awareness and simple preventative measures can drastically reduce your risk of accidents, injuries, or costly damage. By following the comprehensive hazard checklist outlined above, you not only protect your workspace and projects—you invest in your long-term health and creative potential.
Remember, safety isn’t a one-time task; it’s an ongoing habit that evolves with your skills and ambitions. Schedule regular audits, involve anyone who shares your space, and don’t hesitate to update your protocols as you learn. The most successful makers treat their studios like a professional environment, balancing inspiration with responsibility. By doing so, you’ll foster a setting where your imagination can run wild—without worry—every time you open the door.
Start today: Grab your checklist, review your workspace, and make one tangible improvement. Your future self—and your future creations—will thank you.


As a parent, I sometimes have to let my kids join me in the craft studio. Are there specific tips for adapting your hazard checklist to make the space safer for curious children, especially with all the sharp tools and chemicals mentioned?
Absolutely, adapting your studio for kids is important. Store sharp tools and chemicals out of reach, ideally in locked cabinets. Use childproof locks on drawers and cupboards. Set up a designated kid-safe area with age-appropriate materials, and always supervise their activities. Remind children of basic safety rules, like not touching unfamiliar items. Regularly check that all hazards are secured before your kids enter the space.
How often should I be inspecting my tools for wear and damage? Is there a checklist specifically for tool maintenance you would suggest for busy studio owners?
Inspecting your tools every month is a good starting point, but if they see heavy use, consider checking them weekly. For busy studio owners, a practical checklist includes: checking for cracks, loose parts, sharpness, clean handles, and proper storage. Document inspections and repairs to keep track of maintenance regularly.
How often should I go through the hazard checklist you recommend for craft studios? Is this something that needs to be done weekly, monthly, or only after major projects?
It’s best to go through the hazard checklist at least once a month to maintain a safe craft studio. However, you should also review it before starting any major projects and after making changes to your workspace or equipment. Regular checks help catch any potential issues early and keep your studio safe for everyone.
Could you go into more detail about what commonly overlooked dangers might be unique to DIY craft spaces versus other types of workshops?
Absolutely! In DIY craft spaces, some commonly overlooked dangers include inhalation of fumes from glues or paints, unshielded hot tools like glue guns or wood burners, loose craft supplies that can cause tripping, and small sharp items such as needles or blades left out in the open. Unlike industrial workshops, craft studios often lack built-in ventilation or proper storage, making these hazards more likely.